Do-It-Yourself Pressure Washing: Tips for Successful Home Projects in Santa Rosa
KG
Why Pressure Washing?
Pressure washing is an effective way to maintain your home's exterior, particularly in a scenic place like Santa Rosa where the climate can lead to the buildup of dirt, mold, and mildew on surfaces. Not only does it enhance curb appeal, but it also extends the life of your property's surfaces by eliminating harmful contaminants.
Whether you're preparing for a big event or simply want to spruce up your home, a DIY pressure washing project can be a rewarding task. Understanding the basics and following some simple tips can ensure that you achieve professional-grade results without damaging your property.
Choosing the Right Equipment
Before you start, it's crucial to select the right pressure washer. Pressure washers come in electric and gas-powered models, each with different pressure levels measured in PSI (pounds per square inch). For most home projects, an electric pressure washer with a PSI between 1,300 and 2,400 should suffice. However, for tougher jobs like cleaning driveways or heavily stained exteriors, a gas-powered model with a PSI of up to 3,500 may be necessary.
In addition to the washer itself, you'll need various nozzles and attachments. Nozzles control the spray pattern and intensity, so having a selection can help you tackle different surfaces without causing damage. A 25-degree nozzle is typically suitable for most general cleaning tasks.
Preparing Your Home
Proper preparation is key to a successful pressure washing project. Begin by removing any obstacles around the area you plan to clean. This includes moving furniture, vehicles, and decor items out of the way. Additionally, cover plants and electrical outlets with plastic sheeting to protect them from water damage.

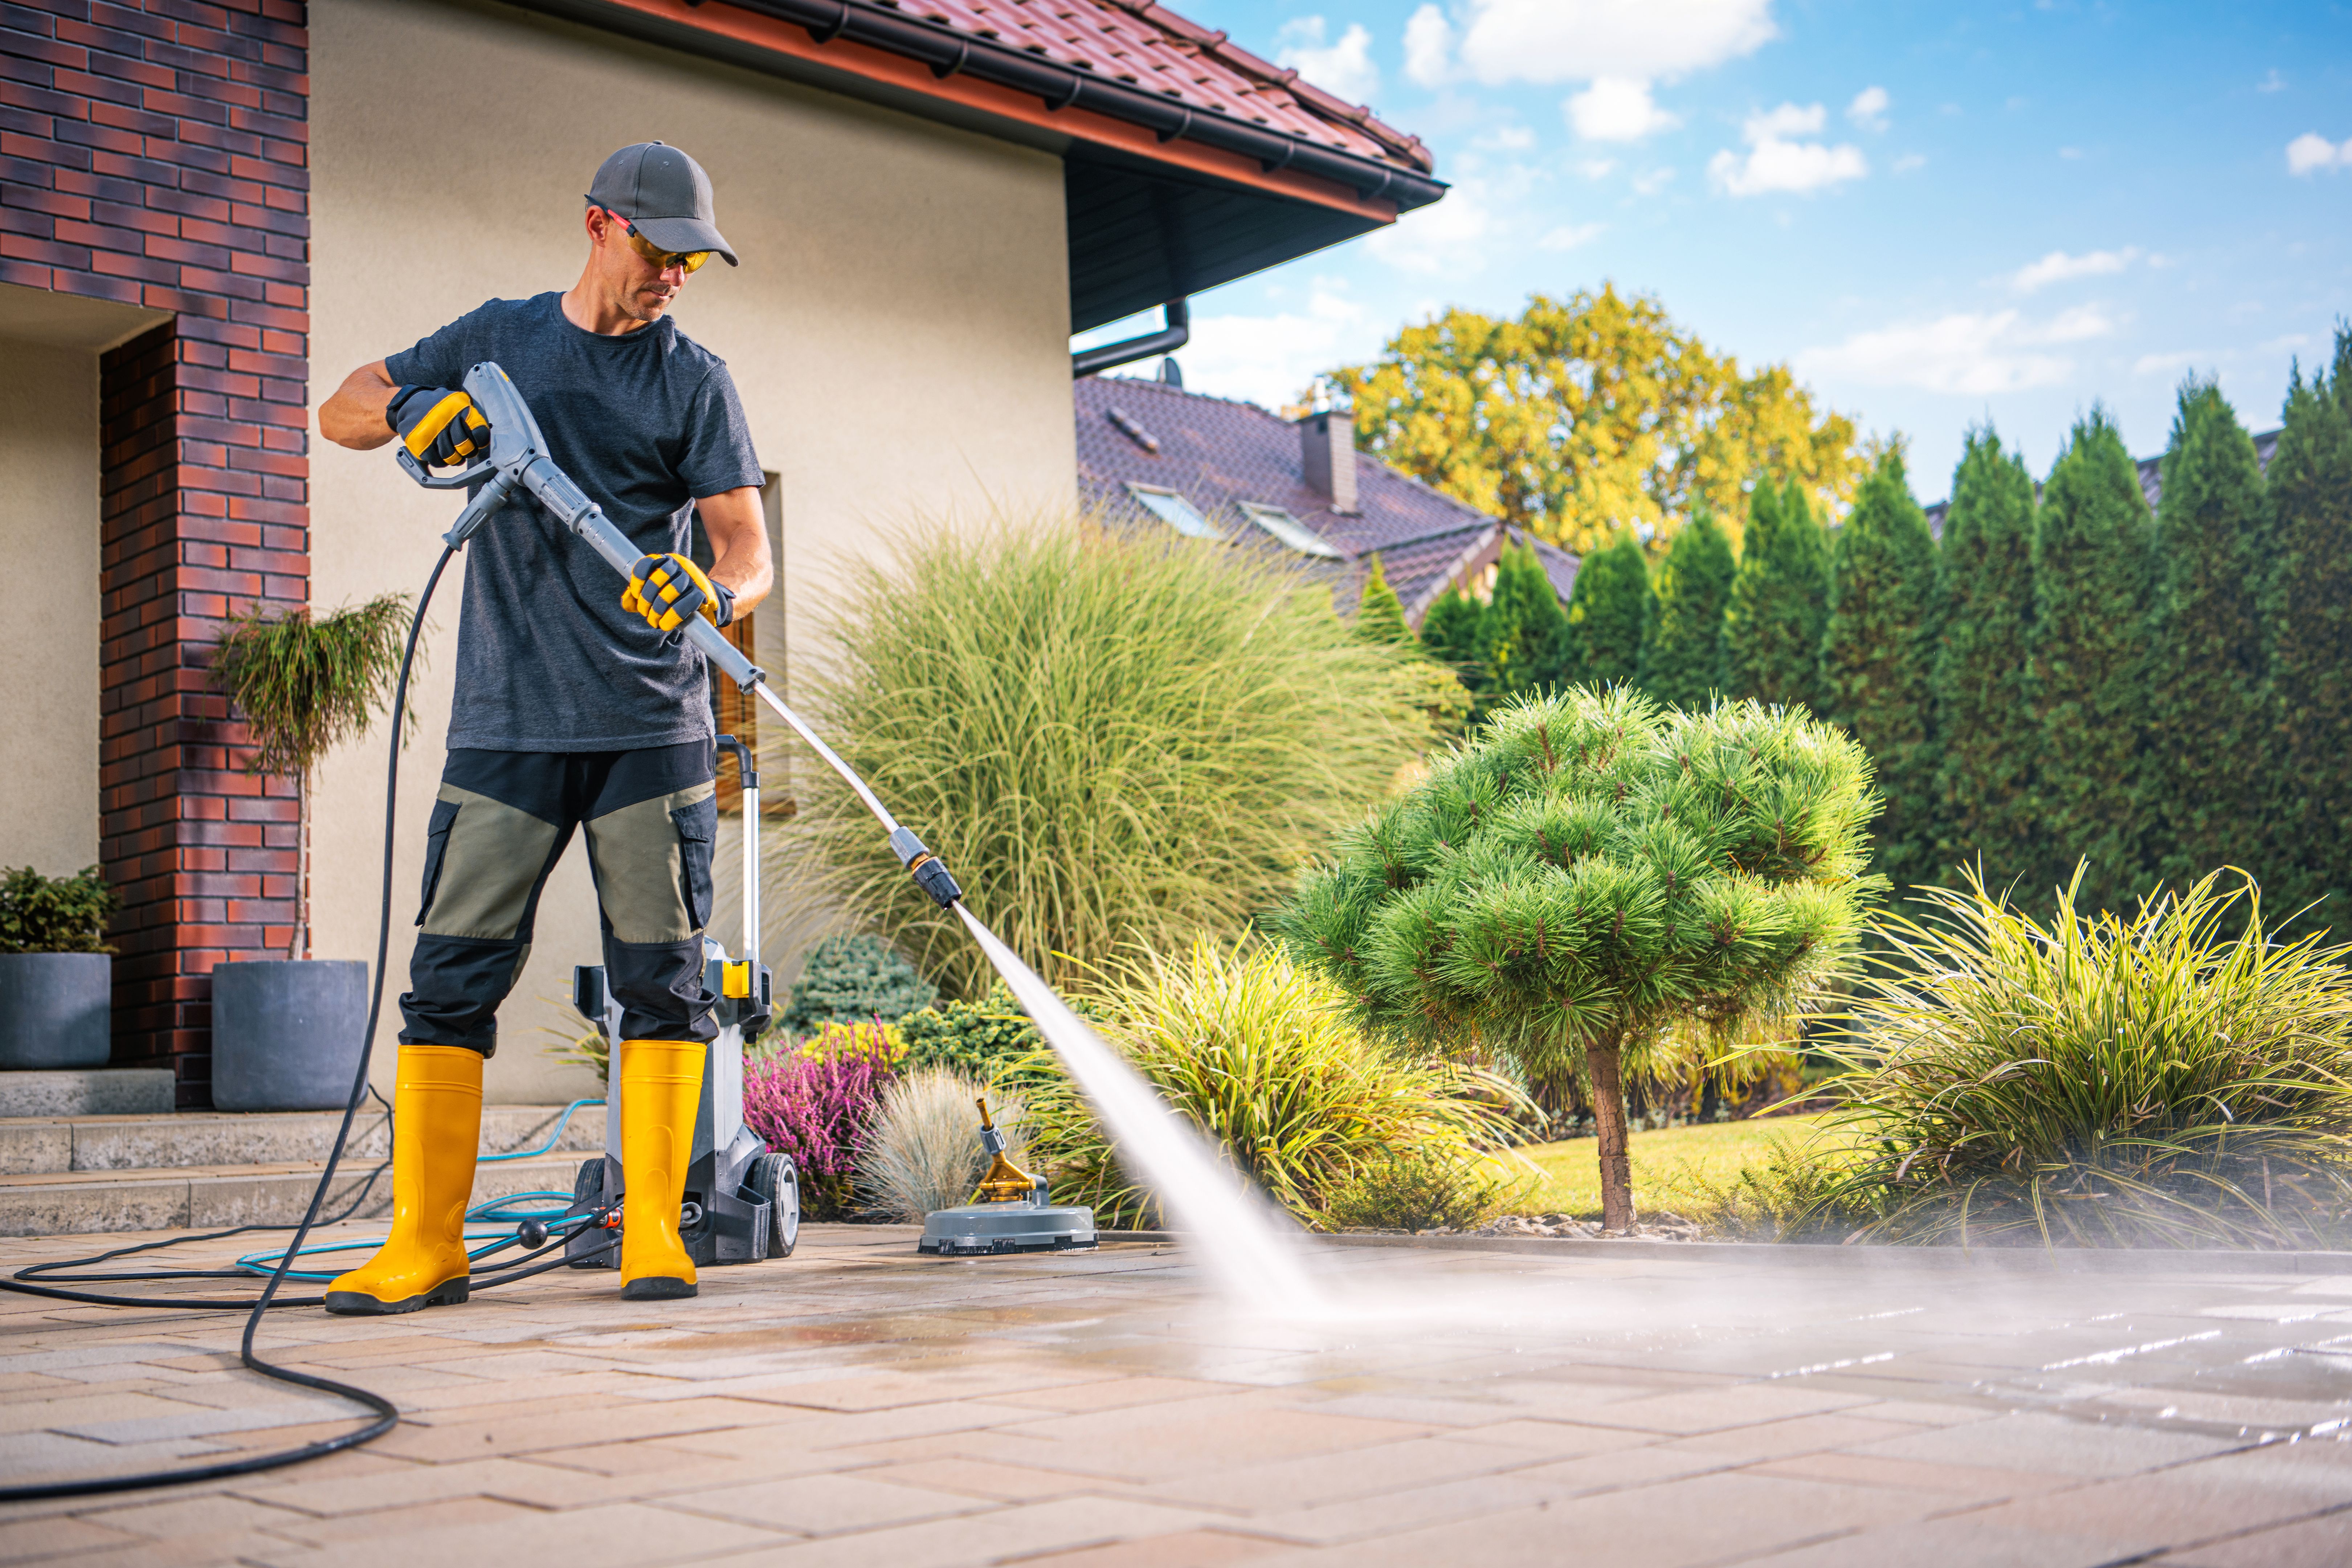
Inspect the surfaces for any cracks or loose materials, as high-pressure water can exacerbate existing damage. Repair these areas if necessary before proceeding with pressure washing. Safety should always be a priority, so wear protective gear such as gloves and goggles during the process.
The Pressure Washing Process
Start by applying a detergent designed for pressure washers to loosen dirt and grime. Allow it to sit for a few minutes, but don't let it dry on the surface. Begin washing from the top down to prevent streaks and work in small sections to maintain control over the cleaning process.
Hold the nozzle at a 45-degree angle and maintain a consistent distance from the surface—usually about 18 inches—to avoid damage. Move in smooth, sweeping motions for even cleaning. Test a small inconspicuous area first to ensure the pressure setting is appropriate for the surface.
Finishing Touches
Once you've covered all areas, rinse thoroughly with clean water to remove any detergent residue. Pay special attention to corners and crevices where soap may accumulate. If stubborn stains remain, repeat the process or switch to a higher PSI setting with caution.
After completing your project, perform a quick inspection to ensure no areas were missed. Taking care of any overlooked spots now will save time in the long run and keep your home looking its best.
Maintaining Your Equipment
Proper maintenance of your pressure washer ensures its longevity and effectiveness for future projects. After each use, clean the nozzles and hoses to prevent clogs and store the unit in a dry place. Regularly check for any wear and tear on components and replace them as needed.
By following these tips and taking proper precautions, you can achieve excellent results with your DIY pressure washing project in Santa Rosa. Not only will your home look revitalized, but you'll also take pride in knowing you accomplished it on your own.